
Overseeding is the process of applying grass seed over an existing lawn. The experts all agree that regular overseeding is vital to help thicken your lawn and fill in bare spots, which reduces or eliminates competition from weeds. The reasoning is that young grass will produce new growth faster than older grass. After several years, mature plants begin to slow down their reproduction rate. With that in mind, I’ve found the following tips extremely helpful in successfully overseeeding (and re-seeding from scratch for that matter). It is certainly frustrating to go through all the work and expense of seeding an area, only to have the results be less than satisfactory. Follow these tips and you’re virtually guaranteed to succeed!
1. Start by Cutting Your Lawn Low
Before you begin overseeding your lawn you should mow your lawn at a low setting and bag the clippings. Don’t set it so low that you scalp your lawn, but as low as possible.
2. Make sure the Seeds are in Contact With the Soil
Seeds must come into direct contact with the soil in order to germinate. Research shows that if seed is laid on top of old grass, you will have about a 2% germination rate. Vigorously rake the existing grass, then add a shallow layer (around 1/4”) of topsoil to the yard prior to seeding. Consider renting a slice seeder if you’re over-seeding a large area.
Once this is done, and your seed is applied, I recommend applying a thin layer of peat moss to the soil to very slightly cover the seed and help in retaining moisture. Peat moss also provides a number of residual benefits to your lawn, such as the improvement of aeration. Since it’ comprised of organic material it also adds nutrients to your lawn’s soil. Some people recommend using straw to cover the seed, however straw is unsightly, doesn’t decompose quickly, or retain as much moisture, and is known to introduce weeds.
3. Make Sure the Seeds get Enough Sun
Seed also needs exposure to sunlight. A heavy cover of straw, soil, or other material will cause the seeds to rot, or severely limit germination. Cover seeds with no more than 1/4” of top dressing.
4. Keep Your Trees Judiciously Pruned
Most lawn grasses prefer full sun (around 6 hrs per day) and don’t do well in shade. To help your new grass thrive, consider giving your trees a liberal pruning. A thinner, higher canopy will allow more light and rain to reach your grass, and go a long way towards helping your grass grow.
I have a large Red Maple in my front yard that hadn’t been pruned in ages. There was literally no grass growing under it by virtue of how much shade the tree was creating. And that’s with Southern exposure. After aggressively pruning it, not only does the tree look much better, the grass underneath is now thriving.
5. Keep the Seed Wet, But Not Too Wet
Water is an important factor in successful seeding, and the step that usually takes the most work. The newly seeded areas must be kept constantly moist for weeks. Allowing the soil to dry out even for an hour during the critical germination phase can result in seedling death. This may require that you give the seeded areas a light watering two to three times a day for the first few weeks. After that, you will still need to keep the seedlings watered on a regular basis. At this stage you should water less frequently, but a little deeper. Be careful not to soak the soil repeatedly or you could encourage root rot diseases. As the grass grows, allow the soil to dry slightly before watering again. See my article on watering for more information.
The soil should feel moist but not muddy. Obviously doing this much watering by hand wouldn’t be practical, so I highly recommend getting a timer. This one from Amazon is the best one out there. See my article on irrigation.
6. No Herbicides or Weed Control
The number one enemy of newly seeded lawns are herbicides. Make sure that no weed control or weed prevention chemical has been used in the area, as those products will also prevent or inhibit germination. When used on very new lawns, herbicides will kill off the new grass.
7. Choose the Right Time of Year
Choosing the right time of year is all about soil temperature. Make sure the ground is warm enough, but not too warm. Temperature plays a critical role in seed germination. Soil temperatures must be at least 55 degrees Fahrenheit (13 degrees Celsius) for northern type turf grass seed to germinate (Bluegrass, ryegrass, fescue). Air temperature must typically be between 60 and 80 degrees Fahrenheit (15-26 degrees Celsius). Southern seed types (bermudagrass, zoysiagrass, bahiagrass, etc) need soil temperatures of at least 70 degrees Fahrenheit (21 degrees Celsius), with air temperatures in the 80’s or higher (21 degrees Celsius or above). Seeds will not germinate if the temperatures are cold at night, or are fluctuating from high day temperature to very low night time temperatures. Very hot weather will also inhibit seed germination.
In most areas, grass seed is best planted before or after summer. That’s primarily because it’s almost impossible to keep new seed moist in the summer without nearly constant watering. The other problem with summer planting is that the soil prep work opens up the area to weed seeds, which readily germinate in the heat.
Throughout much of the northern half of the U.S and Canada, early fall is the best time for sowing grass. The soil is warm, but daytime temperatures are moderate, making watering less of a problem, and the weeds are less likely to grow. I like to start seeding at the earliest first week of September and will push into the first week of October if I have to. By late October, the new grass should be thick and strong enough to survive the winter. Keep in mind that a newly seeded lawn will need one full growing season before it’s mature and well-established.
Sometimes seeding in the Spring is unavoidable. I usually have a few spots that need touching up every spring. In this case, keep a close eye on the soil and air temperatures before getting started. Sometimes the window is small before it gets too hot.
8. Apply a Starter Fertilizer
I recommend applying a starter fertilizer when you sow the seeds, and then add more fertilizer three to four weeks later. That’s necessary because all the watering you do to make the seedlings grow actually pushes the first application of fertilizer out of the top layer of soil, putting it beyond the reach of the young roots.
9. Don’t Mow Too Early
Once the surrounding grass starts to grow it’s tempting to get the mower out, however, you need to wait until the seed germinates and reaches at least two inches. It may take two to three weeks, depending on the seed type. If you mow before the seed germinates, you run the risk of picking up loose seed, and killing small seedlings with the lawn mower. Similarly, you should limit activity on the lawn – walking on it, etc, in order to allow the seeds to reach full germination.
10. Watch Carefully for Grubs and Other Problems in the First Year
If you’re re-seeding a large area keep in mind that a newly a seeded lawn will need at least one full growing season before it’s mature and well-established. During this period it is much more vulnerable to pests, weeds, and diseases. I had the misfortune of having a grub infestation in my first summer following seeding. By the time I realized, a large amount of damage had already been done, since the grubs eat the roots. The birds and other animals digging up the grubs just made the situation worse. I would recommend considering applying nematodes preemptively in the first summer following seeding. They don’t cost very much and can save a lot of heartache. As happened to me, often by the time you realize you have an infestation, the damage has been done.

During this first year, also pay extra attention to pulling weeds. If the grass hasn’t fully grown in there’s a good chance that you’ll have more weeds than normal since the ground has been cultivated and made ideal for germination.
11. Finally, Choose the Right Seed
Before overseeding a lawn, it is important to choose a seed that is compatible with your grass and climate/growing zone. You should try to use a seed that is as similar as possible to your existing grass. See my article on Grass Types. Selecting the right type of grass is key, and planting a variety of species helps your lawn become established as the seeds’ strengths and weaknesses offset each other. In general, mixtures are more likely to survive adverse weather conditions, like heat and drought, than a single-seed lawn. My go-to seed is Scott’s Sun and Shade mix (check price on Amazon)
Be careful about using bargain store seed brands for overseeding lawns. Bargain seed is often poor quality and can contain multiple undesirable varieties.
Reading a Seed Bag Label

Here’s what each of the important label elements mean:
A. Pure Seed: Look for a blend of two or more varieties. A single variety is more susceptible to being wiped out by disease.
B. Variety: Every common grass, should have a variety name. If no variety name is listed, it’s a lower quality seed.
C. Other Crop Seed: These are annual grasses, such as wheat or rye. Be wary if there’s more than 2.5 percent.
D. Inert Matter: This is the stuff that won’t grow, such as dirt and stale seeds. More than 3 percent is a red flag, unless it’s a seed coating meant to enhance germination.
E. Weed Seed: No bag is completely weed-free, but avoid ones with more than 0.2 percent of these seeds.
F. Noxious Weeds: The best bags will have none of these.
G. Tested: Like an expiration date. Walk away from bags with a test date more than one year old.
Conclusion
In conclusion, overseeding is a vital lawn practice to maintaining a thick, healthy lawn. Follow these simple steps and you’ll never dread seeding again! Good luck and happy seeding. Let me know in the comments below if you have any suggestions you think I should add or amend.
Check out all of my recommended seeding gear here!
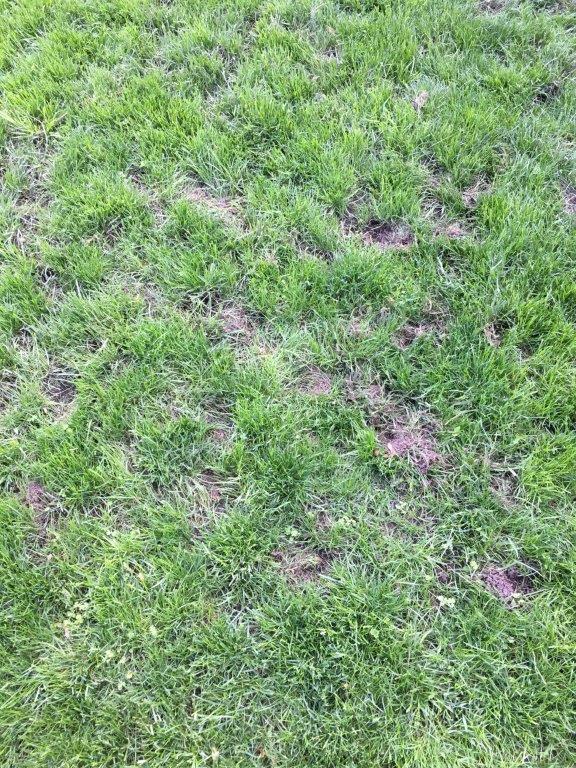
Here is a before and after picture of my front lawn re-seeding/overseeding. Half of it was re-seeded, the other overseeded. The transformation was amazing.
BEFORE

AFTER

Comments
so i put the seed down.my mower is gonna blow the seeds all over.
The before and after overseeding pictures are from two different lawns / properties. Try again please
I assure you they are not. Take a look at some of the other pictures on the site : )
Foreground in one photo is blacktop and foreground in the other is stone. If the stone is indeed near the house / front patio and taken from a different angle, where are the pillars in the after photo?
I’ll trust you
They are from different angles. There was some landscaping done as well which makes it a bit confusing. Cheers
You name is Truth speaker? It seems you are looking to complain. I could easily see it was the same property from two different angles. Young people are spending too much time criticizing others’ efforts.